How to Match Existing Stone Tile
By Frederick M. Hueston
Tips and Tricks from the Field
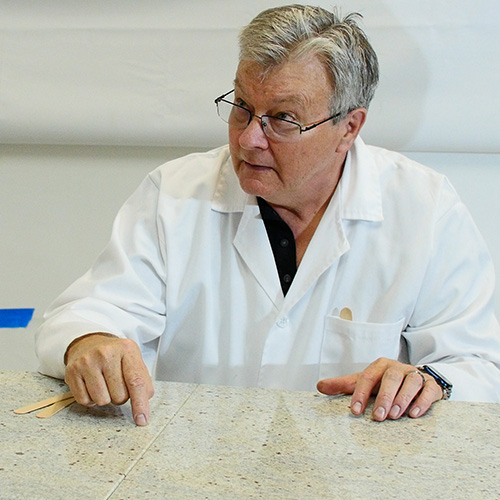
Matching existing stone tile is one of those jobs that can either make you look like a rock star or leave you explaining why “close enough” still isn’t good enough. I’ve been called out to more than a few disaster jobs where the new tile looked like it came from another planet. So if you’re in the restoration business—or just want to avoid callbacks—here’s what you need to know.
Start With Identification
Before you even think about hunting for a match, you have to know what you’re working with. That means identifying the type of stone. Is it marble? Limestone? Quartzite? Something that was labeled “travertine” but really isn’t?
Here’s the quick checklist I use on-site:
- Acid test: A drop of diluted acid can tell you if it’s calcite-based. (Always test in a discreet area.)
- Hardness: Fingernail vs. coin vs. knife—gives you a ballpark idea.
- Veining and fossil content: Especially helpful for limestones and marbles.
- Surface finish: Honed, polished, leathered? Don’t assume it came that way—some stones were altered after install.
If you’re not 100% sure, grab a piece or a detailed photo and send it to someone who’s spent more time than you in stone yards or quarries (like me).
Take the Right Photos (or Samples)
This is where most contractors drop the ball. You can’t just snap a quick phone pic in low light and expect your supplier to make magic.
What you need:
- Natural light photos (not flash)
- A tape measure or coin in the shot for scale
- At least one dry photo and one with the tile lightly misted—this simulates the stone sealed or polished
- Close-ups of veining and any distinct patterns
Even better? Pull an extra tile from an edge or closet and physically bring it to the yard.
Understand the Original Source (If Possible)
Some stone tiles are from active quarries with current stock. Others? Long gone. Imported batches, discontinued product lines, private-label tiles—tracking them down can be like looking for a needle in a quarry.
If you can figure out the brand, supplier, or even the approximate year of installation, you might be able to match it more easily. Stone name isn’t always enough; the same name gets slapped on very different stones.
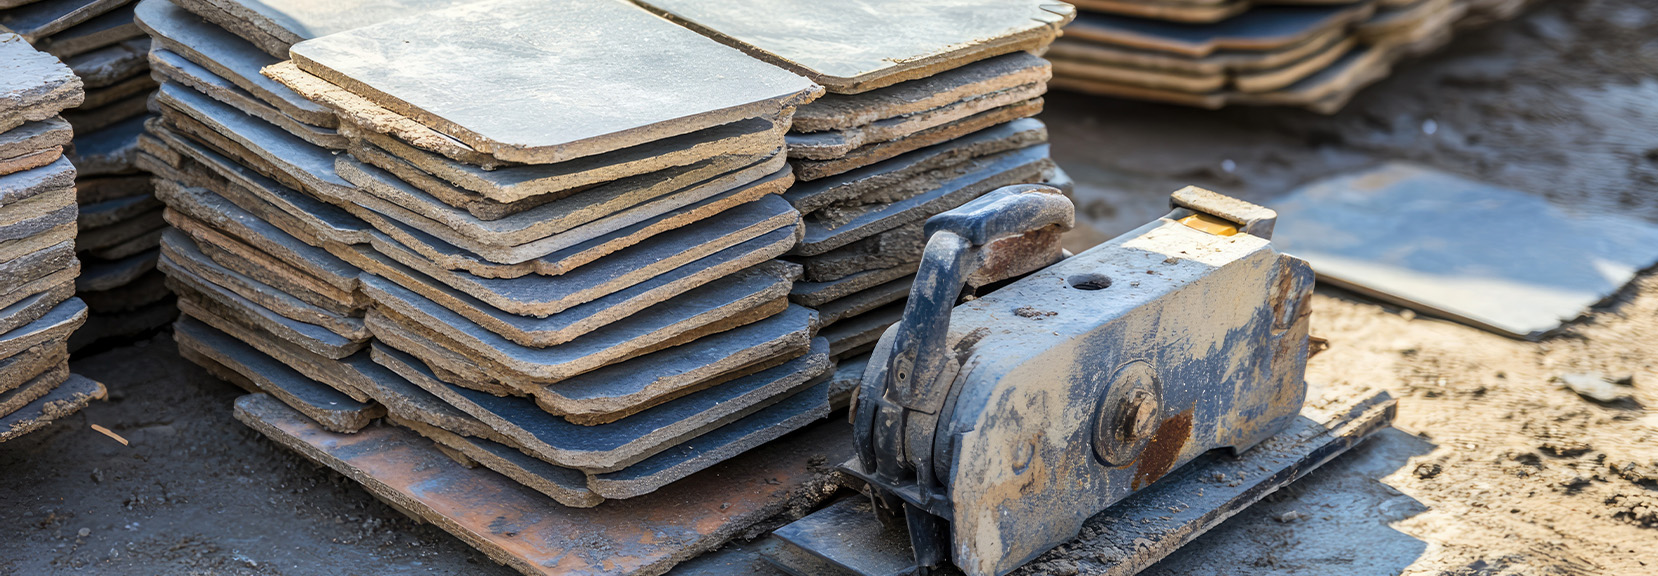
Dealing With Batch Variation
Let’s say you’re lucky enough to find the same stone. Great, right? Not so fast. Natural stone varies—sometimes wildly—from block to block, even within the same quarry. So that Calacatta you found might be a cooler white or have heavier gold veining than what’s on the floor.
Here’s what you do:
- Request multiple samples from the supplier.
- Compare dry and wet samples to your original.
- Lay them out side-by-side in daylight before committing.
- If it’s close, consider blending—don’t just swap out the damaged tiles. Mix a few new tiles across a larger area to make the variation look intentional.
Finish Matching: The Hidden Trap
Color and pattern aren’t everything. Finish can make or break the match.
I’ve seen a near-perfect stone match ruined because the replacement tile was too glossy. Or too matte. Or had a different surface texture entirely.
Your options:
- Hone or polish the new tile to match the existing.
- Lightly abrade or polish the original tiles in the repair zone to blend the transition.
- Apply a color enhancer or sealer to adjust tone—but only after testing.
Just remember: whatever you do to the new tile, make sure it won’t call attention to itself when the light hits it.
Tools That Help
Here’s what I keep in my truck when I’m doing a match:
- Small portable microscope or hand lens
- Field acid kit (marble test)
- Color comparison fan decks (you can make your own)
- Rubbing stone to knock down an edge or shine
- Spare pieces of popular stones I’ve collected over the years
A Few Tricks From the Field
- Check underneath: If you can remove a tile, the underside often shows the unsealed, original color.
- Mimic the grout: Don’t overlook the grout color. It can visually throw off the match more than the tile.
- Stain or tint: I’ve used water-based tints to warm up or cool down a stone’s hue—just don’t overdo it.
Common Mistakes to Avoid
- Relying on memory or bad photos
- Assuming a name like “Crema Marfil” means they’re all the same
- Ignoring finish differences
- Not blending new tiles into the pattern
- Sealing before matching—always match before you seal
Final Thought
Matching stone tile isn’t an exact science, but it is an art—and a bit of detective work. The more you do it, the better you get. But even then, don’t be afraid to tell a client when an exact match just isn’t going to happen. A good blend, a smart layout, and a polished finish can still make you look like a hero.