Protecting Newly Installed Stone Floors During Construction
By Frederick M. Hueston
You’ve just finished installing a brand-new stone floor. It looks flawless and you’re proud of the work, but the project isn’t done yet. Painters, carpenters, and electricians are still moving in and out, and every step or tool they carry can threaten that perfect finish. Protecting the floor during this stage is just as important as the restoration itself. Here’s a practical guide for stone restoration pros to keep a new floor safe until the job site is truly complete.
Why Protecting Stone Floors Matters
Stone floors, whether marble, granite, travertine, or others are vulnerable during construction. Scratches, stains, chips, and chemical spills can happen fast. Heavy foot traffic and tools being dragged across the surface can turn a perfect installation (or restoration) into an expensive problem. Taking protection seriously avoids repairs and replacements that hurt both your reputation and your bottom line.
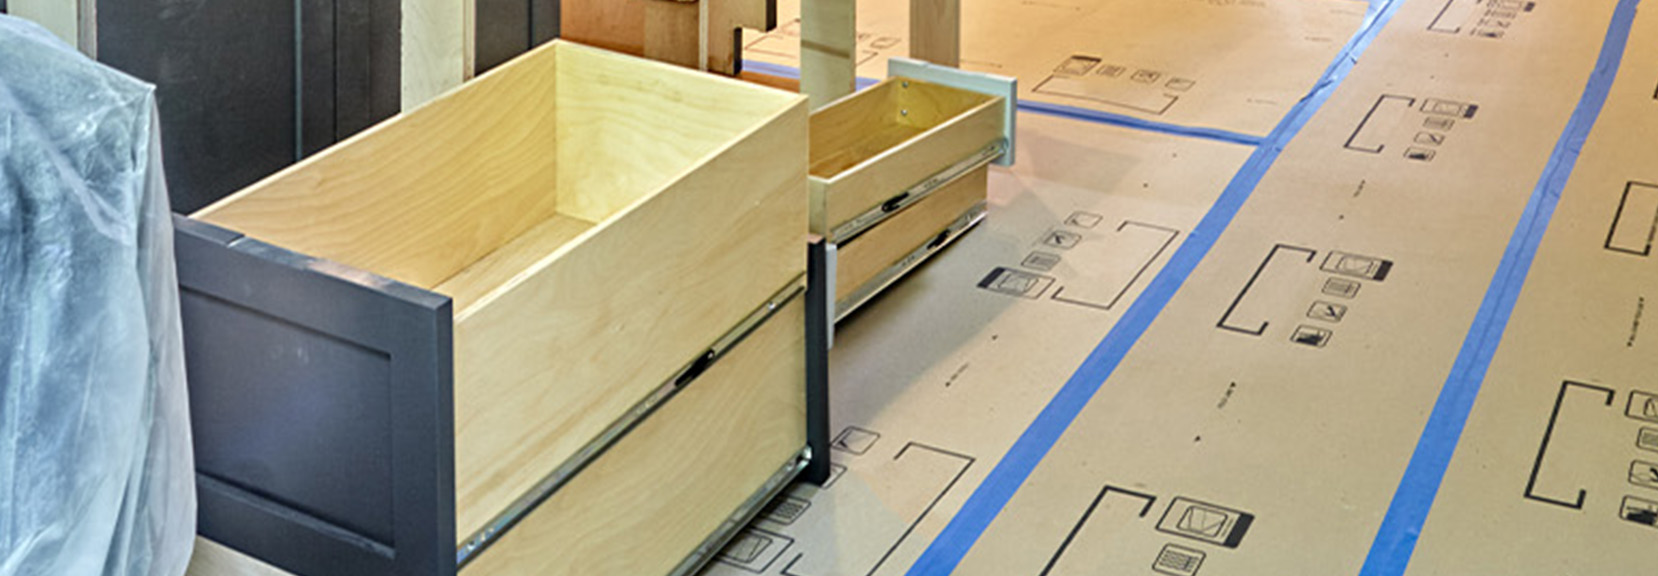
Step 1: Choose the Right Protective Covering
The first defense is the covering you choose. Not all materials are safe for stone, so pick carefully:
- Breathable protection rolls – Designed for stone and other hard surfaces, they allow moisture to escape and prevent problems like efflorescence.
- Felt pads with a polyethylene film – These combine cushioning with a waterproof layer to guard against spills.
- Hardboard or plywood sheets – Best when heavy equipment or carts will be used, since they distribute weight evenly.
Pro tip: Never put non-breathable plastic sheeting directly on stone. It can trap moisture and lead to staining or salt deposits.
Step 2: Apply a Temporary Surface Sealant (If Needed)
For porous stones like marble or travertine, a temporary sealant can add extra protection during long construction phases. Make sure the stone is clean and dry before applying, spread it evenly, and let it cure as directed. Remember, temporary sealants must be removed once construction ends, followed by a proper long-term sealer.
Step 3: Secure the Edges and High-Traffic Zones
Edges and pathways are high-risk areas. Use corner guards and edge protectors to prevent chipping, and double up coverings where traffic is heaviest, like doorways and halls. Always tape coverings with painter’s tape or construction tape that won’t leave residue. Avoid duct tape, which can damage stone.
Step 4: Communicate and Educate the Crew
Even the best protection fails if the crew ignores it. Communicate clearly and remind workers how critical the floor is:
- Place signs around protected areas.
- Walk the crew through protected zones and explain do’s and don’ts.
- Create designated pathways for moving tools and materials, avoiding the floor when possible.
Pro tip: Keep spare protective sheets and felt pads handy to patch up damage quickly.
Step 5: Regular Inspections
Check coverings daily or on a set schedule. Look for tears, moisture buildup, or lifted tape. Assign one person to handle inspections so nothing is overlooked.
Final Thoughts
Protecting a newly installed stone floor is about planning ahead and staying vigilant. The right coverings, clear communication, and regular checks keep your work safe until handover. A protected floor shows clients your professionalism and helps build trust and referrals that last long after the job is done.