Removing Heavy Carbon Build-Up on Exterior Stone
By Frederick M. Hueston
If you’ve ever had to deal with heavy carbon build-up on exterior stone, you know it’s not a quick job. Especially when it’s been sitting there for decades, baked in by sun and pollution. Removing it takes the right chemicals, the right technique, and a little patience. Here’s a step-by-step process that’s worked for me and many other restoration pros.
Step 1: Identify the Stone and the Extent of the Build-Up
Before you touch any chemical, figure out what kind of stone you’re dealing with. Limestone and marble are sensitive to acids, while granite and some sandstones can take stronger treatments. Take note of the thickness and texture of the carbon layer. If it’s caked on like black tar, you’ll need multiple applications.
Step 2: Pre-Wet the Surface
Always pre-wet the stone before applying a cleaner. This keeps the cleaner from soaking too deep into the pores and minimizes the risk of streaking or uneven cleaning. Use clean water and saturate the surface thoroughly.
Step 3: Apply the Chemical Cleaner
For heavy carbon, one of the most effective tools is sodium hydroxide, the main ingredient in products like Sure Klean 766 Limestone & Masonry Prewash. It’s a strong alkaline cleaner that breaks down the greasy, tar-like bonds in carbon deposits.
- Apply it generously using a low-pressure sprayer or brush.
- Don’t let it dry. If it starts to dry out, mist it lightly with water to keep it active.
- Let it dwell for about 10 to 20 minutes depending on the level of build-up.
Step 4: Agitate the Surface
Use a natural bristle or nylon brush to gently agitate the surface. Avoid wire brushes—they’ll scratch soft stone and leave burn marks. Agitation helps the cleaner lift the carbon out of the pores.
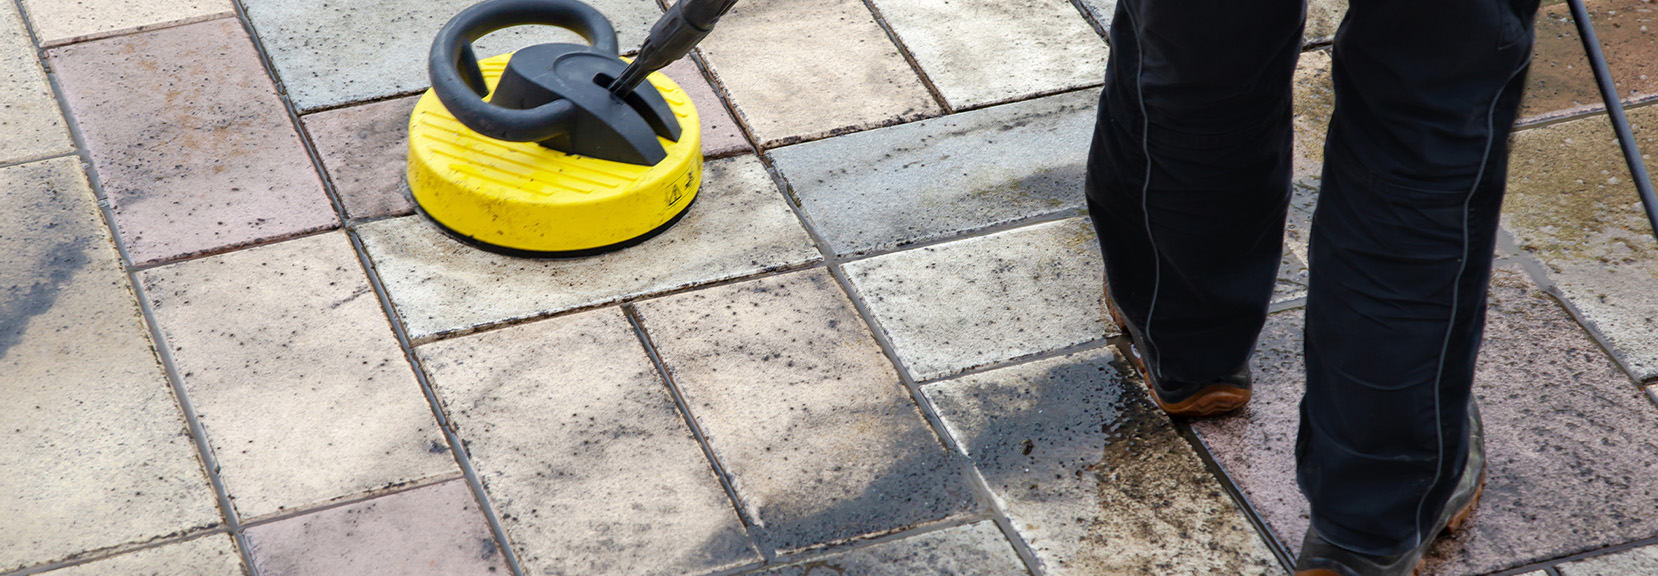
Step 5: Rinse Thoroughly
Rinse with low-pressure water first to remove loosened residue, then follow up with a thorough rinse using clean water. Avoid high-pressure washing on soft stones like limestone or marble, as it can erode the surface or open up pores that will trap more dirt later.
Step 6: Repeat as Needed
For old, thick deposits, one application usually isn’t enough. Repeat the process until you’ve removed all the visible carbon. On the final pass, make sure you rinse completely so no cleaner residue remains.
Step 7: Neutralize and Final Rinse
After using sodium hydroxide-based products, neutralize the surface with a mild acidic rinse such as Sure Klean Limestone & Masonry Afterwash or a diluted white vinegar solution. This restores the pH balance of the stone and prevents long-term damage.
Step 8: Dry and Inspect
Let the stone dry completely before judging your results. Sometimes dark spots that look like leftover carbon are just moisture trapped in the surface. If areas still look dirty after 24 hours, repeat the process in those sections.
Step 9: Optional Sealing
Once clean and dry, consider applying a breathable penetrating sealer to help protect the stone from future soiling. Don’t use topical coatings—they’ll trap moisture and can actually accelerate staining over time.
Pro Insight
Always test a small area first. Every stone reacts differently, especially if it’s old or weathered. Heavy carbon removal is part science, part patience. Take your time, rinse well, and you’ll restore that stone’s natural color without damaging the surface.